


Several clients have been in this week sharing the sorrows of their black thumbs when it comes to their container gardens. For years I’ve successfully grown many plants in dozens of big pots around my garden, and they all flourish from five basic principles for container gardens. Try these simple-to-use bits of advice and you can watch your container garden thumbs “scream with green”.
 Soil is the most important consideration of container gardening. The right potting soil is so important I can become obsessed about the subject! I’ve created several soils over the decades, repeatedly tweaking the formula for better growing. When all the ingredients are just right, the affect on a container garden is almost magical.
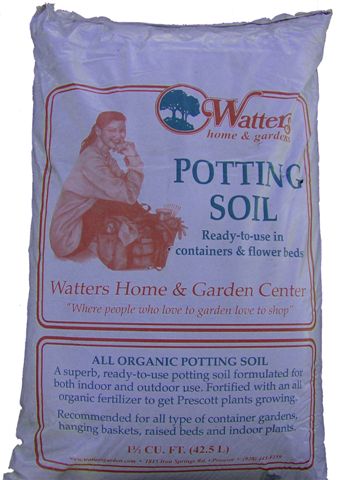
Fresh potting soil should be used each spring. For small containers under 14 inches in diameter all soil should be replaced every spring. Larger pots need either only the top12 inches of old soil replaced or all the old soil that has last year’s roots matted down into it. Stay away from garden soil for your containers; it compacts down too hard and does not drain properly. Use a grower’s grade potting soil only.
A good potting soil will look exactly like the soil the plant was grown in at the nursery. Ideally, your new plant should never realize it has been transplanted into different soil. This is why a ‘Growers Mix’ is best suited for container gardens.
Use soil right down to the bottom of the container. Do not fill the bottom with rocks, pottery shards, or Styrofoam peanuts. In an arid climate you want as much soil in your container as possible, no matter the size of the container.
I like a one-inch deep saucer under every pot. Just-watered plants should have water run out the bottom of the container until the saucer fills with the excess. Container gardens should be watered early in the morning before the heat of the day. As the soil dries during the day and your plants need more water, the saucer water will wick back up into the container, essentially creating a self-watering pot. But this will happen only if fresh potting soil is used right to the bottom of the container. This is advice best used only in arid climates.
Once you’ve prepared the soil you’re ready for the really fun part of creating a container garden!
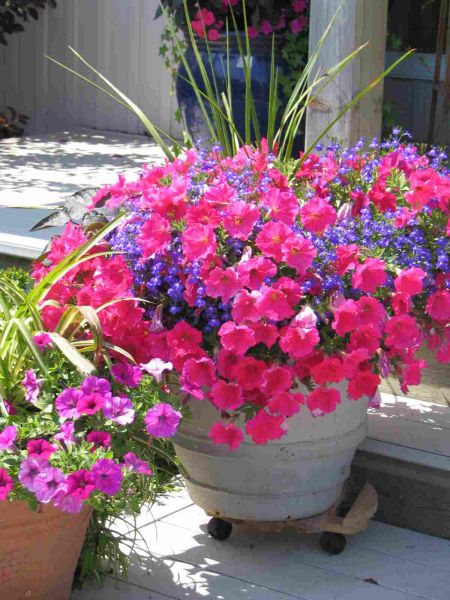
Thrill – All design rules are off when planting a container garden; don’t be afraid to go with whatever strikes your fancy. When planting a new container, at least one plant should be an “over-the-top” specimen for thrill. You’ll know the plant because when you see it you won’t be able to take your eyes off of it. It could be any that happens to catch your eye: a pepper plant, a showy new annual, or an unusually fancy shrub. It might be a new color, texture, or foliage, but something that makes a bold statement. I’ve even used a tropical banana as the “show-boater” in a planter. A proper design will have at least one of these “thrill pieces”, planted in the center or at the back of the pot.
Spill it – The leading edge of the container should have something flowing over the rim. This creates the impression that your plants are so happy they literally are spilling out of their containers with joy. To name a few, the short list of these plants includes cascade petunia, calibrachoa, ivy, vinca, bacopa, and ivy geranium. Feel free to mix and match colors for designer fun; you might even have the flowers and foliage match your container.
Fill the rest –Thrillers at the back or center, spillers to the front, and big, full flowers to fill in the rest of the pot. Filler choices needn’t be limited to marigold, pansy, coleus, impatience, stock, geranium or that fancy new flower of the year. Use whatever feels right to you. Again, have fun mixing colors until that artist inside you is satisfied.
No soil should be showing when the project is complete. A newly planted container garden should look as through it has been growing together for years. Plants should touch foliage-to-foliage, if not root-to-root. A good quality potting soil ensures that the plants will take off with vibrant new growth.
 Most Important Tip – Don’t wait for a new container garden to grow: start with large plants. Planted container success skyrockets from this bit of advice alone. Because containers can be difficult to keep hydrated, don’t plant 6-pack-sized plants! These tiny plants are nearly impossible to keep alive as outdoor temperatures dip and then climb. The roots of larger plants reach 6-8 inches into the soil where the sun cannot dry and bake them. Plant a gallon size plant instead and your new garden not only looks mature, but it makes fewer demands for care and water. Bigger really is better when gardening in the Southwest.
Until next week, I’ll see you in the garden center.
Ken Lain can be found throughout the week at Watters Garden Center, 1815 W. Iron Springs Rd in Prescott, or contacted through his web site at www.wattersgardencenter.com or Facebook page www.facebook.com/WattersGardenCenter .
I have having a difficult time keepibg my Columbine plants healthy in containers. I have had the plants for several weeks. The Columbine that I planted in ground appear to be doing well but the plants in containers seem have brittle stems, the buds won’t bloom and the leaves are turning yellow. I wanter each plant every couple of days. Should I increase or decrease waterings?
Regards,
Aaron B.
Columbine are relatively frugal on their water needs. Sounds like your potting soil is staying to moist in the container. Try watering every third or fourth day and see if they recover.