


by Ken Lain, the mountain gardener
My achey-breaky-back! Everything holiday-ish arrived this week: cut Christmas trees, poinsettias, landscape evergreens, even miniature fairy gardens arrived at the garden center, and my back is feeling it. (I may be exaggerating he amount of energy I expended, but I did not need to work out at the gym this week.) Though tiring, I must admit that it was fun to work with holiday, gift-y plants and trees instead of just the usual landscape plants.
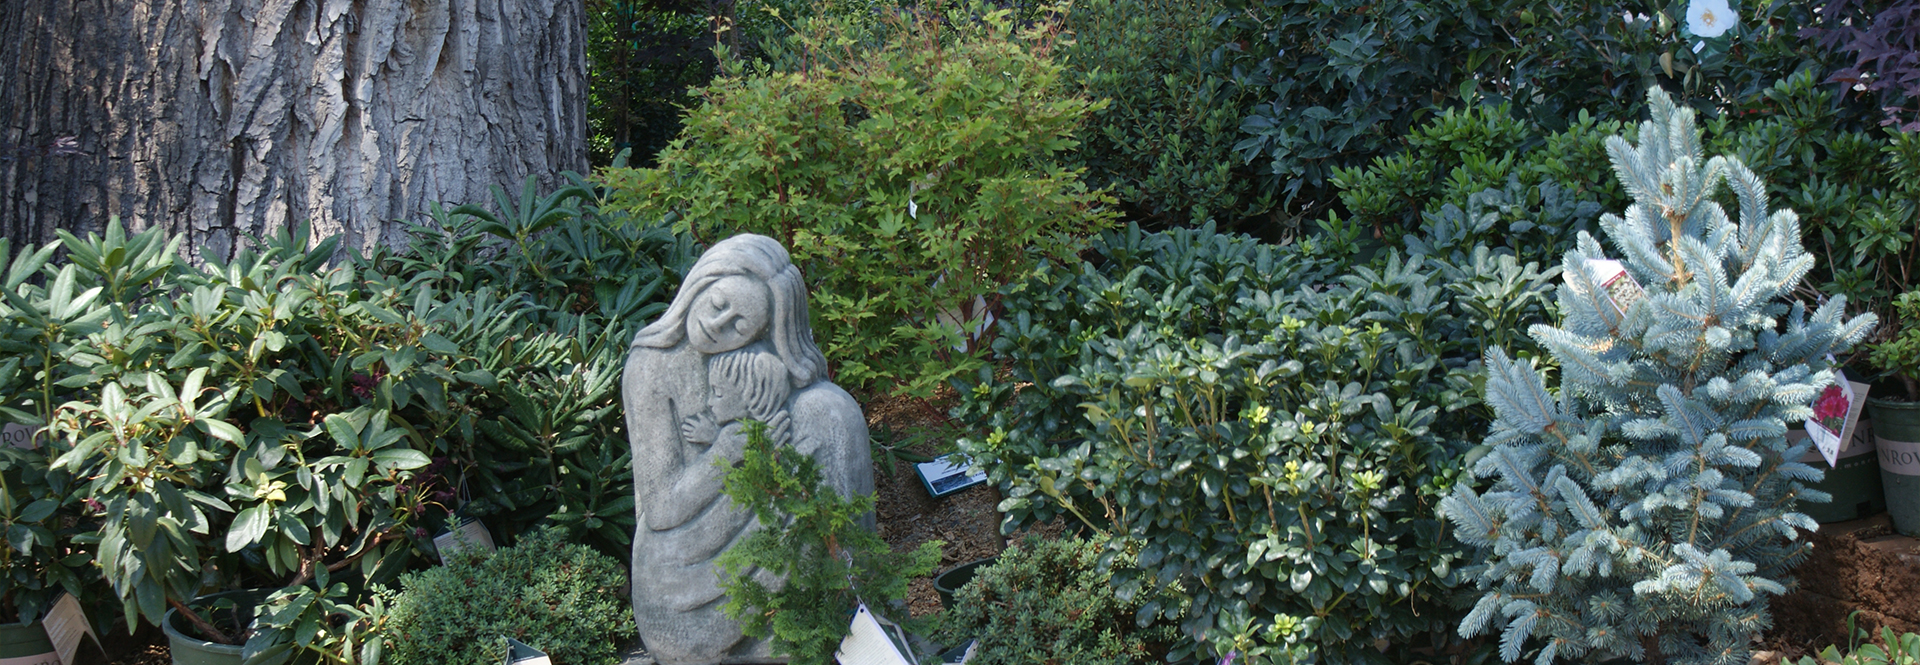
The piney herbal smells are what I appreciate most this time of year at the garden center. There are few things that spark such fond memories like the fresh evergreen smell of newly made garlands, wreaths, and a truckload of freshly cut Christmas Trees. It is something I really enjoy every year.
Living Christmas trees, trees used for indoor decorations and then planted out-of-doors, 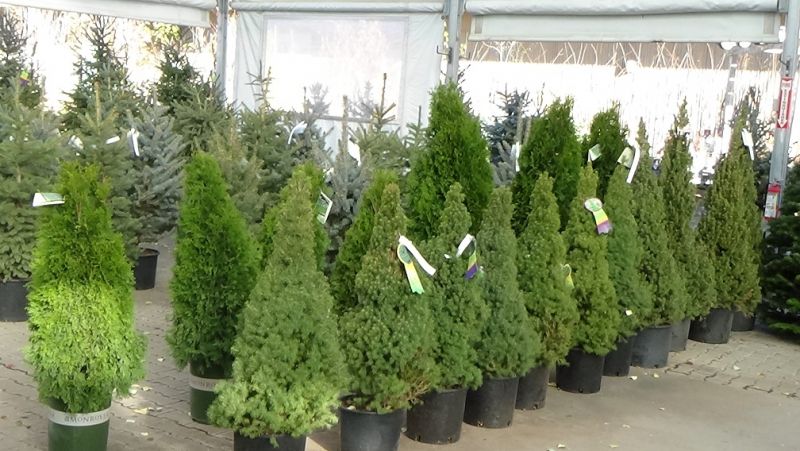 now out sell cut trees here at Watters. So, as we wind up the first week of December, let’s cover how to properly plant a winter evergreen in the landscape.
Because of their waxy needles and high levels of internal pitch, most conifers need surprisingly little water. This is true for the high country natives like pine, cypress, cedar, and juniper. Once these trees reach their mature sizes they thrive in our arid climate, dry soil, and extreme mountain temperatures.
Evergreens do not like to sit in wet soggy soils because their internal metabolisms slow to an almost stasis-like state. That is why digging the right size planting hole and adding the correct soil amendments are critical to a successful evergreen planting.
Here are six steps to planting an evergreen tree successfully, especially in the chill of winter.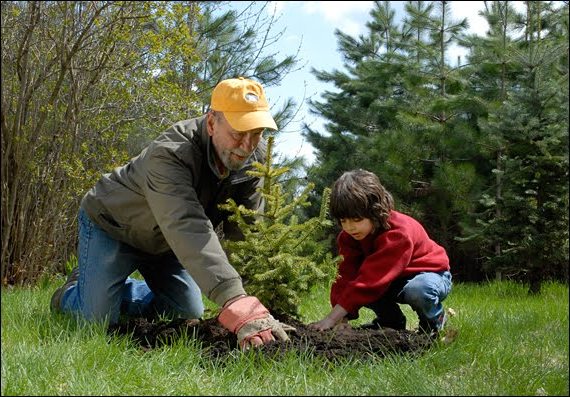
Step 1 – Dig a bowl-shaped hole the same depth as the root ball, but three times as wide. Plants in our area do not need a deep hole; they thrive when able to stretch out just under the soil’s surface in search of food and water. This is why a bowl-shaped hole promotes the best root development. Be sure to rid the hole of rocks and other debris larger than a golf ball.
Step 2 – Improve the planting soil by amending it with Watters ‘Premium Mulch’. Good mulch will keep clay soils loose and aerated, and in loose granite it will retain water up around the root ball.
The amount of mulch per plant should be equal to the size of the root ball. Blend the mulch into the native soil used to fill in around each plant.
Step 3 – Evergreen trees are so sensitive to soggy soil that it is recommended they be planted on a slight mound. Whatever you do, don’t bury the plant; keep the trunk out of the soil. Once planted, the top of the root ball you see in the grower’s pot should be able to “see sunlight”.
Step 4 – Evergreens need the right plant food for a healthy start. Use my specially blended “All-Purpose Plant Food” 7- 4- 4, specifically designed for mountain plants. Just sprinkle the granules on top of the root ball and water in well. With each watering the slow-release nutrients promote a deep green color and generate thicker root growth.
Step 5 – Encourage deeper roots with ‘Root & Grow’. Add this liquid rooting hormone to the water used to saturate the root ball. It forces new root hairs to grow, and more roots mean a more vigorous plant. Use this root tonic once per month until new candle growth emerges in spring.
Step 6 – Top-dress the planting area with a 3-inch layer of shredded cedar bark. This layer of nature’s insulation retains moisture, keeps out weeds, and protects from extreme temperature swings. It is like laying a thick blanket over the roots before they are too cold and shivering.
Water – Keep the tree moist, but allow it to dry between watering. Give it a thorough soak twice a month through March. Once it begins to develop new growth, bump up its watering schedule to twice a week during the first growing season, then once a week thereafter.
For exact planting details that include drawings and measurements, ask for my “Guide to Mile High Planting” the next time you visit the garden center. You might also like the useful companion guide “Mile High Watering”.