


 by Ken Lain, the mountain gardener
Created some new container gardens . . .What do you think?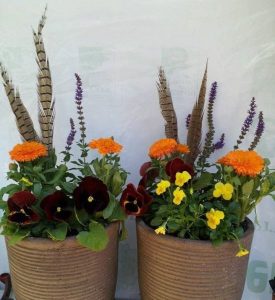
Autumn is a time of decorating. Many of my gardens are end-of-the-season old and tired. With our first frost just days away, these tired old geezers will be pushed “over the cliff” into a wintry demise. However, we still have a month or so to add a touch of freshness to our gardens. I don’t try to recreate spring in my cold weather gardens, just to delay the inevitable death and decay of a winter garden. A little color for the season ahead is uplifting to my inner gardener. My container gardens make it so easy to add some decorative color close to the house, patios, or for greeting guests as they enter our driveway.
Arizona is so mild at this time of year, that gardening with a colorful pot, the right soil, and winter-blooming evergreens, eases the gardener within’s seasonal transition. Autumn is the season for pansies, violas, kales, snap dragons, and asters. Surprisingly, most of these autumn bloomers are so hardy that they will bloom right through winter and well into next spring. So now is the time to dress up those containers!
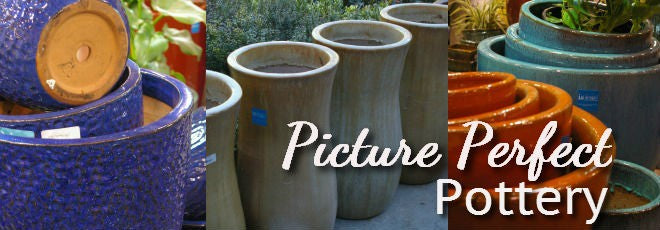
Watters’ 2016 glazed pottery is on sale at a deep 40% discount. Not only are plants of autumn ripe with color, but the pottery they thrive in is on sale ! What perfect timing, eh? 🙂
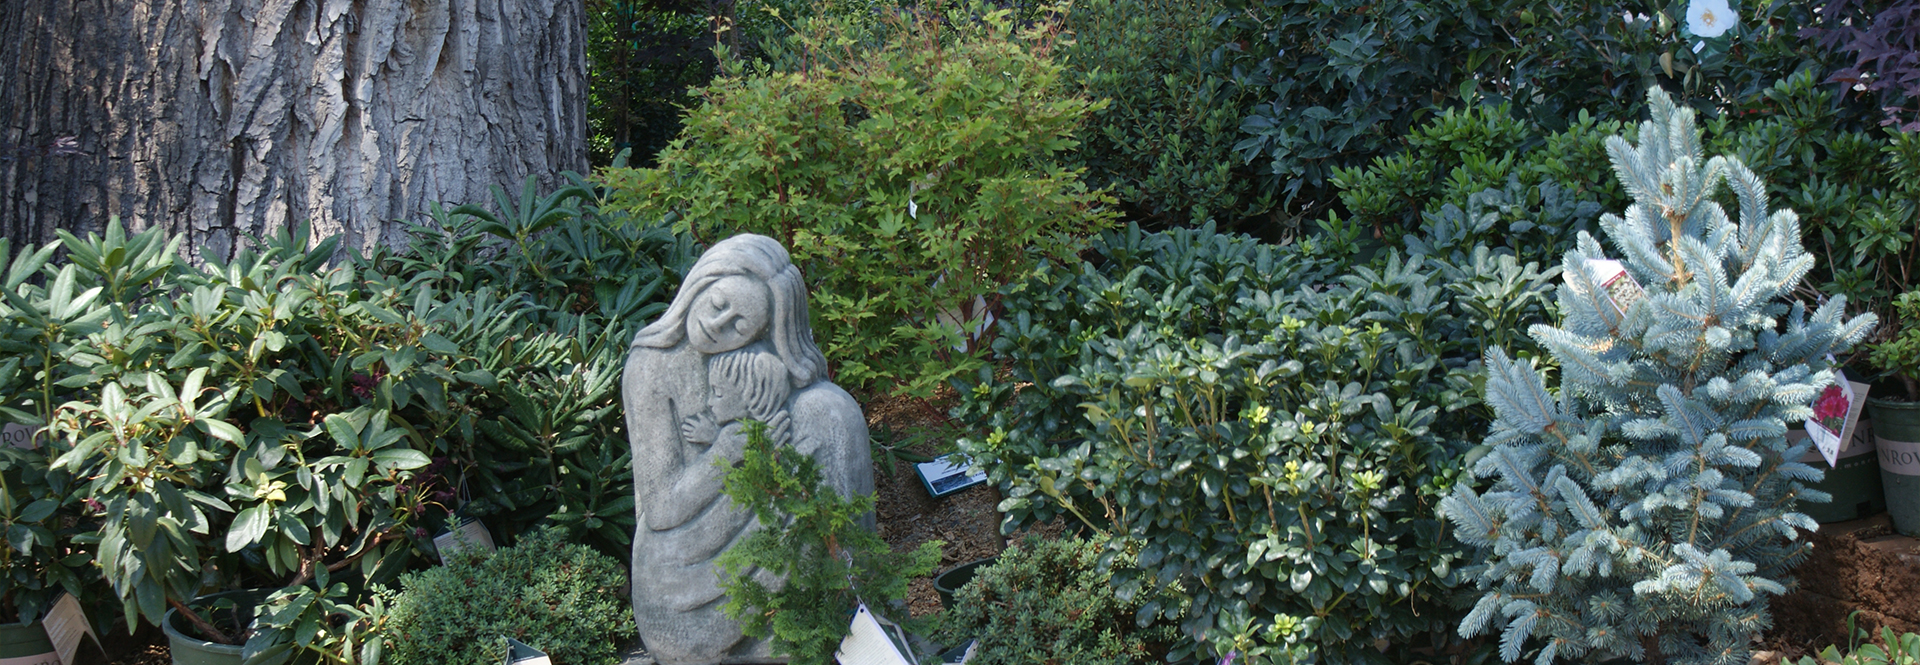
Picking the perfect pot: Container gardens can add a creative punch of color, elegance, and/or drama to any landscape. As with statuary and other garden art, container gardens are the accent pieces in our gardens. The primary key to successful container gardening is to choose a pot that has good drainage. Here are more tips for choosing a new container:
Style – First things first…pick a pot that appeals to you! What’s your style? Just as when you choose art and decor for your home, consider your style and what suits you and your garden when selecting containers. Pots come in all sorts of styles from traditional terra cotta to sleek glazes, painted ceramics, plastics, and even whimsical lightweight pottery.
Size – does matter! What you plan to plant in your container will determine the size pot you need. You want to give your new plants room to grow. At the minimum go 2 inches larger than the pot that currently houses them. For plants such as trees and shrubs that you want to keep in the container for a long time go even larger so they can grow in place for at least 2-3 years. Also, keep in mind that large pots retain moisture in the soil longer than smaller pots which dry out more quickly.
Shape – The shape of the container might be dictated by its surroundings. For example you might want a square pot to fit into a corner or a low round bowl to sit on your outdoor dining table without hampering cross-table conversations. Tall pots can be used to add height in the middle of a low garden bed.
Shade – The color of the container can match other garden pottery, complement its surroundings, or stand out as a bold contrast to a landscape’s many shades of green. Match the color of the pot with the colors of its plants or choose a neutral color that allows plants be the stars of the composition.
At Watters Garden Center, we have a huge selection of pottery from trendy new colors to the classic favorites. There are lots of great new colors, styles, textures, and shapes to choose from, and all will last for years and years outdoors. Browse our container departments and you’ll find the perfect pot for your new container garden.
Fill with Watters ‘Potting Soil’. This premium soil is the perfect blend for retaining water at the root level while draining enough for deeper roots; both attributes are necessary for a hardy container planting. Fill the pot ¾ full, mix in Watters ‘All Purpose Plant Food’, and then finish filling with more potting soil.
Tamp down to compress the potting soil. Add more soil and tamp down until the pot is at the ¾ full mark again.
Plant Placement – Arrange plants on the soil’s surface, keeping plants at the right level. Firm the soil around each plant, adding soil as necessary. When the container is fully planted, very little surface soil should be showing. Place plants so the foliage of one plant is touching the foliage of the other plants. This allows plants to support each other and prevent soil from drying out too quickly; plus, it creates a more finished look from the outset.
AquaBoost Crystals – For smaller pots, or simply to use less water for all container gardens, add ‘AquaBoost Crystals’ to the soil used around your plants’ roots. These water-holding crystals store water at the root level; it keeps plants moist longer, extends bloom time, and creates more drought hardiness during summer.
No Soil at the Rim – Soil should be about 2-inches below the top of the rim, allowing the 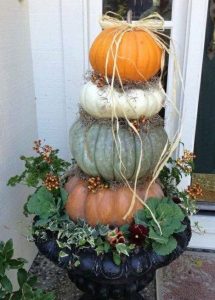 space necessary for proper watering.
Completely Soak – Thoroughly water your new creation until water is seeping from the bottom of the pot. There still will be dry spots in the soil so thoroughly water again 2-3 times to adjust the soil moisture and activate the plant food nutrients.
Feed regularly with Watters ‘All Purpose Plant Food’ 7-4-4. Container gardens use more food than comparable plants in garden soil. Feed every 4-6 weeks for best performance and color. Force more color from your flower and vegetable gardens by supplementing this food with Watters liquid ‘Flower Power 54’ at two week intervals; you’ll be rewarded with stunning flowers and increased harvest.
Until next week, I’ll see you browsing the pottery at the garden center.
Ken Lain can be found throughout the week at Watters Garden Center, 1815 W. Iron Springs Rd in Prescott, or contacted through his web site at WattersGardenCenter.com or FB.com/WattersGardenCenter .