


 Starting a flowerbed from scratch is not that difficult an undertaking; it just requires some planning. You can plant a flowerbed any way you like – big or small, curved or straight, raised or flat, even in large containers. Flowerbeds can be changed over time so don’t worry about planting THE perfect collection of blooms on your first try. There are many types of flower gardens, no two are the same, and they can adapt as they evolve.
The first planning step is to take a stroll through the landscape to choose the best location for the bed. Get a feel for the shape and size of the yard where you’ll be putting the bed. Take note of available light, nearby structures, the location of any underground utility lines, and the nearest water source.
You can use a hose, spray paint, or kitchen flour to mark out the potential shape of the new flowerbed. If building a raised bed, determine the type and amount of edging material. Once you’ve decided on the location, type, and shape of the bed, you are ready to prepare the soil.
Most mountain soils are a horrible mixture of clay and rocks. Consequently, the bulk of your money and work towards a new bed will be spent on prepping the soil. It’s almost impossible to get too much composted mulch into a new garden plot, but a 3-inch layer turned to one shovel’s depth is a good start.
While turning the soil for any new bed, work in three more amendments in addition to the mulch. Use a good 7-4-4 “All Purpose Plant Food”, bone meal, and ‘Soil Activator’ to really get those plants growing. The food will bulk up the plant, the bone meal will intensify blossoms, and the ‘Soil Activator’ will ensure better root development of all new plants. For really hard soil, consider adding the largest bag of ‘Perlite’ you can find. Perlite is the name of the white bits you find in a good potting soil, but it also works by itself to improve garden soils.
If the soil in your potential garden is really bad, consider using raised beds. In many mountain gardens a raised bed is aesthetically appealing and makes for greater ease in planting, weeding, and tending. To guarantee proper root development, raised beds should accommodate a soil depth of at least one foot.
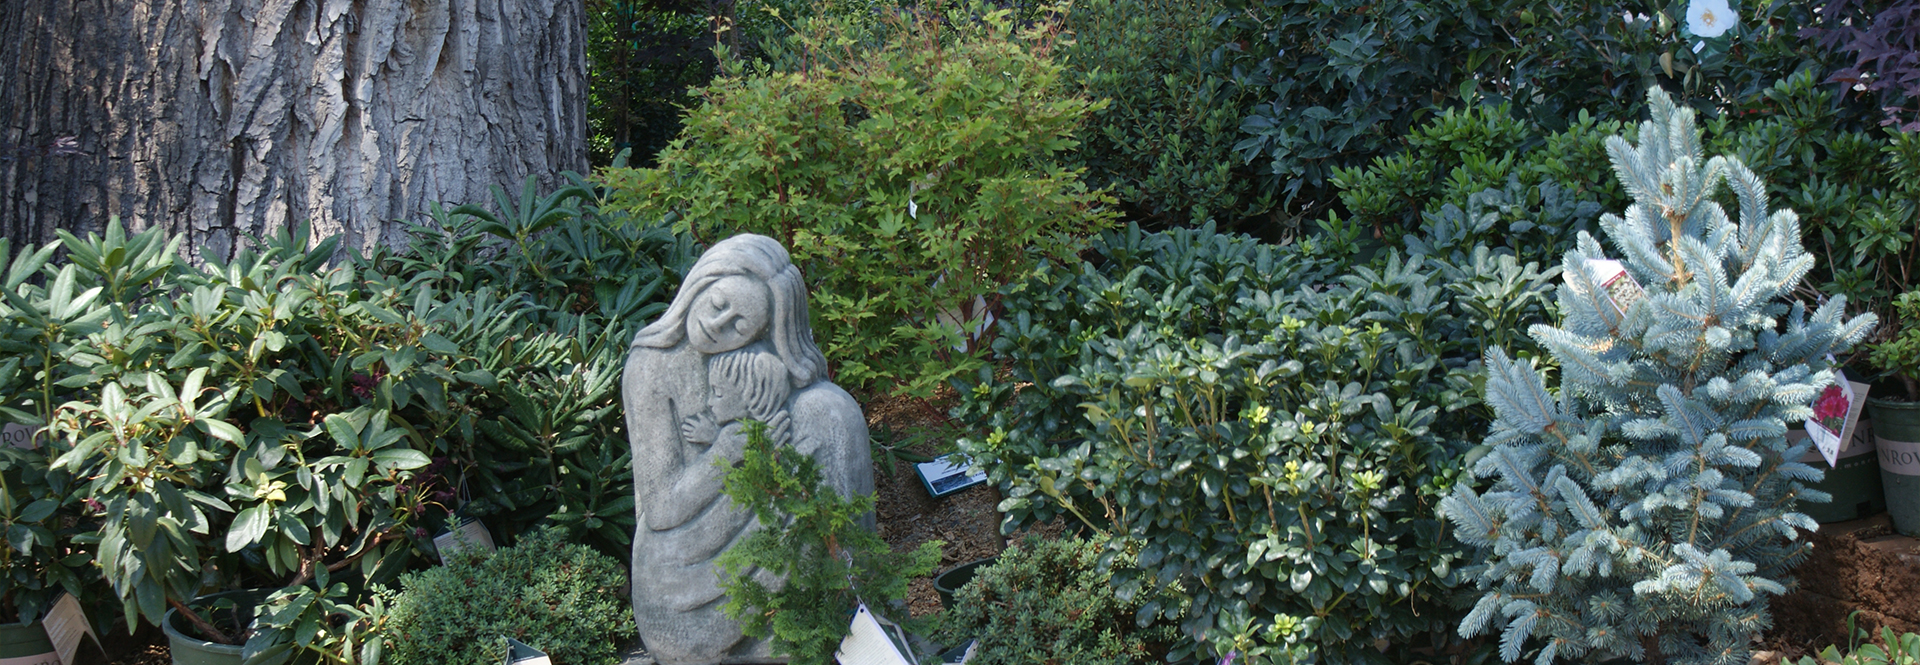
Now comes the fun part: Choosing the plants! Select plants that are healthy and green. Don’t pick plants with fading blooms or browning leaves, and, when possible, select plants with buds. Perennials usually need to be two years old before they bloom so try to purchase mature plants of these varieties.
With plants in hand, get out your shovel and hand trowel, then head for the garden site. Before you dig, place every plant on the garden’s surface where you think you might like to plant it; then move it around until it’s where you think it looks best. Once placement is decided, you’re ready to plant. The top of the planted soil plug should be just above ground level, not sitting too high or too low in the soil.
Mulch your flowerbed with shredded bark, wood chips, or pine needles. Mulch keeps the weeds down, helps to contain moisture, and creates an attractive, finished look. Also, as it breaks down it delivers additional organic nutrients into the soil.
Water requirements vary for every plant, but generally a newly planted flowerbed should be watered a couple of times per week. If you’ve created a rock garden or planted extremely drought hardy flowers you may need to water only once a week until the plants are established and then only rarely after the first growing season.
~ ~ ~ ~ ~ ~ ~
Bean Advice – This week I planted beans in my garden. Beans grow very well at the higher elevations of Arizona. There are two secrets that guarantee they will come alive: One – plant beans after the last expected frost date. Second – coat any bean with granular inoculate. Sold as ‘Fix-N-Grow’, these beneficial soil bacteria allow a bean’s roots to soak up more nitrogen from the soil, thereby increasing the plant’s production. These all-natural bacteria greatly reduce the amount of plant foods needed in the soil. One package is good for all garden beans, cow-peas, limas, soybeans, and sweet peas grown in a garden.
~ ~ ~ ~ ~ ~
Facebook question of the week – “My lawn still has a lot of dead grass in it. I fertilized it about a month ago with a heavy dose of nitrogen, but it still doesn’t look as good as my neighbors’ yards. What should I do?”
Answer: A cool-season lawn should look green most of the year, but lawns need more than nitrogen in spring. Here’s my secret. Starting in March rotate applications of “All Purpose Plant Food 7-4-4” with applications of “Soil Activator” every other month. This combination will produce incredibly green results and reduce the need for aeration and de-thatching. I use the first weekend of each month as my cue for this routine. I start with my “All Purpose Plant Food” and water it in well. The following month I use the “Soil Activator”. Be prepared, though . . .your lawn mower will need to be really sharp to take on your lawn’s luxuriant new growth!
Until next week, I’ll see you at the garden center.