


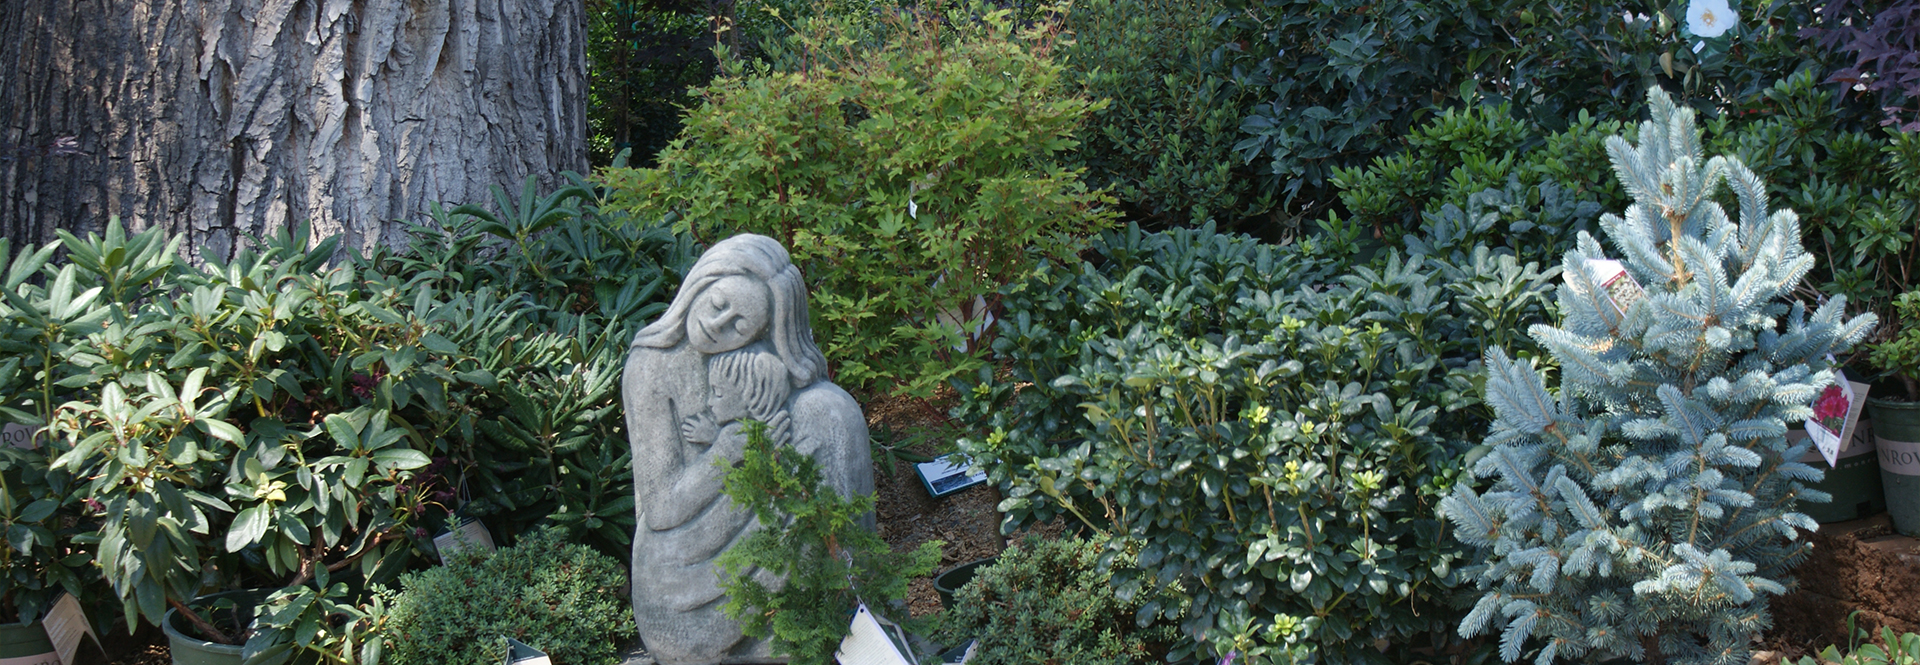
 The month of June is filled with brutal days for all plants. With a prevailing southwesterly wind, 0% humidity, and no precipitation, plants are utterly dependent on their gardeners. By the end of the month plants are exhibiting smaller leaves, small-sized fruit, and even some yellowing. We have set our irrigation frequencies so high that nutrients are flushed from the soil, evidenced by the white mineral deposits within the root zones. Then, traditionally by July 4th, the monsoon season moves in with its abundance of rains! With the monsoons our humidity increases dramatically, clouds provide shade, and we enjoy the occasional afternoon rain. This is another planting season for mountain gardeners, especially for putting in trees, shrubs, and large vines. Some of my most successful planting efforts have been during this rainy summer season. A planting hole that is dug correctly and properly amended will result in a healthy, vigorous plant.
Below is my 6-step planting technique that consistently works best for local gardens.
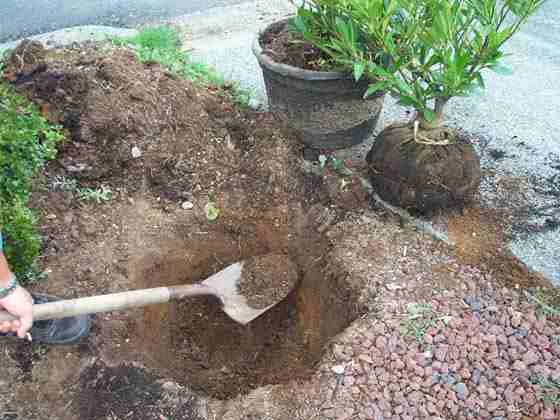 Step 1 – The bowl-shaped hole should be the same depth but three times wider as the plant’s root ball. Plants don’t need a deep hole; they thrive when able to stretch out just under the soil’s surface in search of food and water. Be sure to rid the hole of any rocks that are larger than golf balls.
Step 2 – Check for good drainage by filling the newly dug hole with water. If after 12 hours the water has not completely drained away, dig a chimney-like hole in the bowl- shaped hole until you reach the next soil band and check the drainage again.
Step 3 – Improve the planting soil by amending it with composted mulch. NO manure is used for this planting; it is too strong for new plants. There are two types of soil in mountain gardens. One is hard clay, which does not drain well; the other is loose granite that water flows through as it flows through sand. Good mulch will keep clay soil loose and aerated, and retain water up around the root ball in loose granite.
[youtube]https://www.youtube.com/watch?v=ZnmufV7aSLg[/youtube]
The amount of mulch per plant should be equal to the size of the root ball. That is the quantity of mulch you will need to blend with native soil to fill in around each plant. Spread a layer of mulch as top dressing to insulate the plant and retain water around the newly forming roots. For granite soil you should add a 3-inch deep layer of additional mulch on top of the root ball.
Step 4 – Don’t bury the plant; the trunk should be kept out of the soil. The top of the root ball you see exposed in the grower’s pot should remain exposed when transplanted into your garden.
Step 5 – Feed your new plantings  with ‘All-Purpose Plant Food’ 7-4-4. This natural food encourages strong root development, but is safe for pets, birds, and young family members. It works well, is easy to use, and has a large margin for error that other foods do not have. Just sprinkle the granules on top of the root ball and water well. This slow-release nutrient will feed newly forming roots a little each time you water. There is no easier way to nurture a strong root system.
Step 6 – ‘Root & Grow’ promotes  deeper roots. Tired of cheap rooting substitutes and manufactured short cuts, I developed this liquid rooting solution for our local gardens. A plant will push new roots into the surrounding soil when this liquid magic is added directly to the plant’s water. Use a 2-gallon watering can and add the recommended amount of solution to the water; then generously soak each plant once it is in the ground. Use this rooting tonic every two weeks until new foliage or flowers appear. For exact planting details that include drawings and measurements, ask for my ‘Guide to Mile High Planting‘ the next time you visit the garden center. You also might like the useful companion piece ‘Mile High Watering Guide‘.
~ * ~
Grapes are good examples of the importance of planting at the right time. Grape vines need warm soil before they start growing for the season, so they are one of the last to wake in spring. Plant during the warmer, more humid season, and grapes will quickly exhibit new growth.
Plant of the Week – ‘Flame’ red grapes are melt-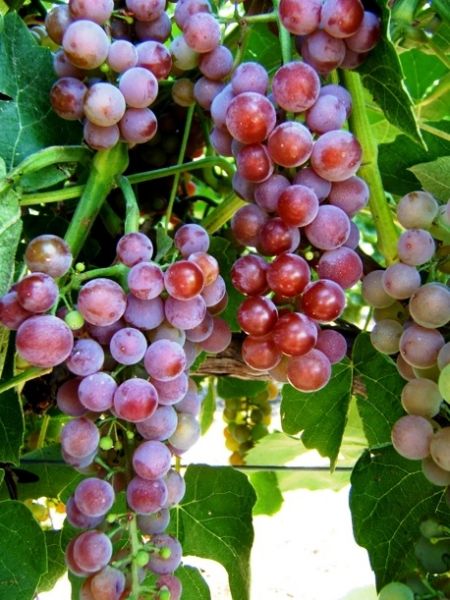 in-your-mouth delicious. Fruit clusters come with 100 red grapes per bunch, and with absolutely NO seeds they can be used for jelly, jam, preserves, wine, juice, or simply enjoyed fresh at the table. This vigorous mountain grape ripens early and starts to set fruit when the monsoons arrive. It loves growing on a trellis, over an arbor, a pergola, and shaded decks. It really works well as a fruit-bearing fence to enclose a kitchen garden. Plant a large specimen early in the monsoon cycle and you just might be enjoying its fruit this fall.
New Bonsai club starts July 19: Bonsai Details
Tell a friend – If you find these garden tips helpful and want to share them with friends, point them to this link for the High Country Garden Club.
Until next week, I’ll see you in the garden center.
Ken Lain can be found throughout the week at Watters Garden Center, 1815 W. Iron Springs Rd in Prescott, or contacted through his web site at www.wattersgardencenter.com or Facebook page https://www.facebook.com/watters1815