


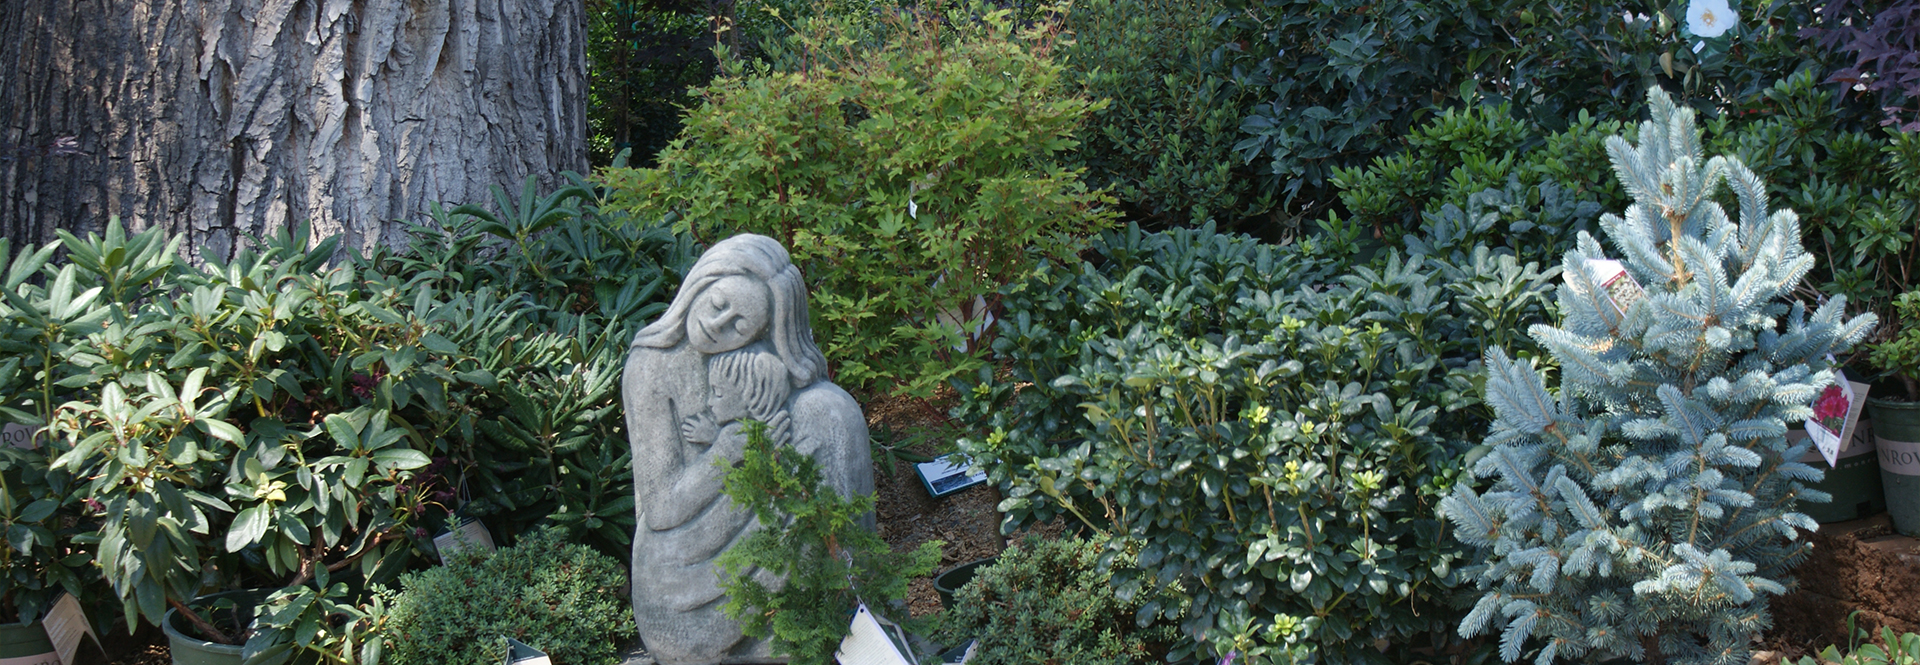
by Ken Lain, the mountain gardener
Fall foliage is a highlight of the autumn season. Pumpkin-colored leaves, some eventually turning the color of fire trucks, can be more attractive than spring flowers. The colors are easily preserved for Thanksgiving festivities, school projects, and are an easy way to ‘unplug’ the kids for an afternoon of non-electronic activity. There are four methods to save leaves. Each is easy to do, and in no time you’ll be a pro with the help in this week’s column.
Selecting leaves ~
- Avoid leaves that are spotted or bumpy.
- Hand pick leaves that are relatively flat rather than curled.
- Dry leaves press well. The supple leaves of red tipped photinia, magnolia, and rhododendron are good candidates for glycerin or silica gel.
- Don’t be afraid to try leaves in various stages of color change.
~ Children are masters at choosing the best leaves. Perhaps that’s because they are closer to the ground and naturally see the magic of autumn leaves.
Method #1 ~ Leaf Press
Pressing leaves with a weight is the simplest method of saving autumn leaves. It takes a little longer to claim the finished product, but here’s how to press leaves to use for the fall season.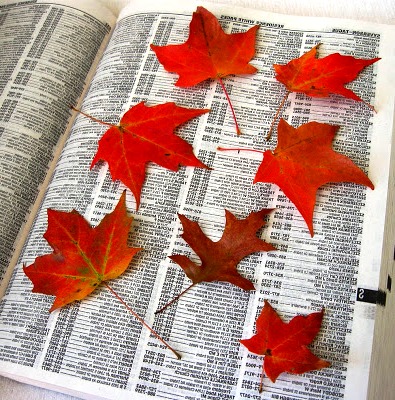
- Choose leaves with low moisture content that are relatively flat and thin.
- Sandwich leaves between newspapers or that unused phone book.
- To keep leaves from curling use your heaviest books; this is a good time to dust off that old encyclopedia set. You’ll need a good amount of weight; 2-3 books should do.
- Place the paper with the leaves inside a heavy book. For more weight you can place more books, or a rock on top of the book. I’ve even used a toolbox for weight.
- Keep the book in a dry location and visually check after 1 week to make sure that leaves are drying but not rotting. Total pressing time is approximately 2-3 weeks before they are completely dry and ready to use. Perfect timing for a Thanksgiving dinner gathering!
Insider Tip: If you’d like a supple leaf for your result, soak the leaves in diluted 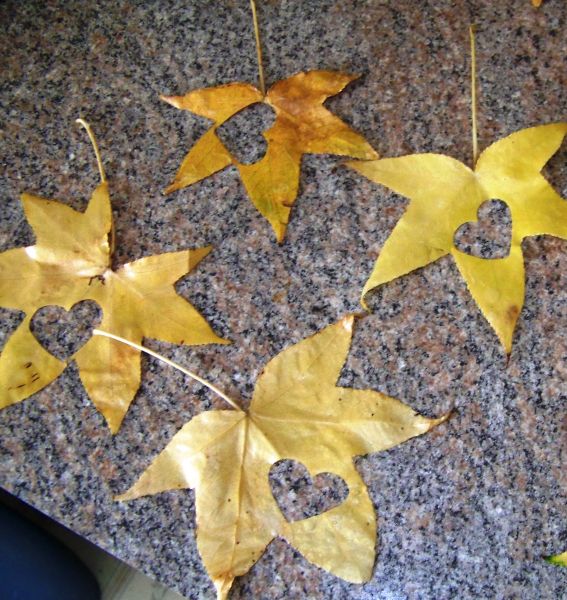 fabric softener before pressing. Or coat the surface with a light layer of petroleum jelly.
Decorating Ideas: Scatter the pressed leaves on display shelves, dinner table, and mantle. Make a coffee table centerpiece by filling a basket with an abundance of pressed leaves. Pressed leaves can be used as a table dressing by arranging them on your dining table. If you prefer, protect them by covering with a sheer cloth, glass, or plastic covering. A clear picnic table cover works well.
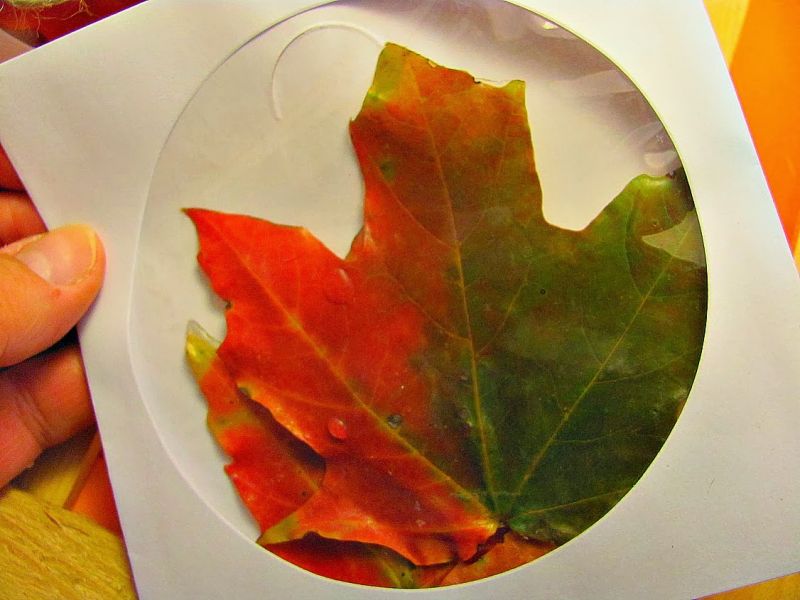
Method #2 ~ Waxed Paper Ironing
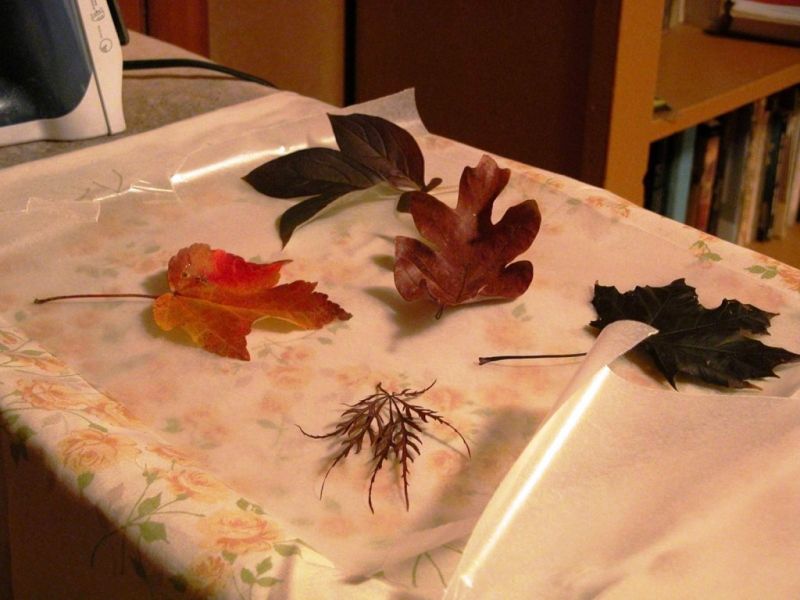 This is the method I remember most fondly from my childhood. I think it was the only time I enjoyed ironing!
- Choose thin leaves with low moisture content, that haven’t begun to curl.
- Sandwich your chosen leaves between 2 sheets of waxed paper.
- Cover your ironing board with an old cloth rag, to insure you don’t leave wax on the board.
- Make sure the iron doesn’t touch the wax by placing another rag on top of your positioned leaves.
- Heat the iron to high. (No Steam, Please)
- Slowly run the iron back and forth over the cloth rag. Don’t press too hard to begin with, or the leaves will shift from their untouching positions. Once the paper has begun to seal, use the full weight of the iron, holding it for about 4-5 seconds on each spot.
- Lift the rag to see if the waxed paper has melted and sealed. The leaves will be clearer when the wax has melted.
- Cool the piece thoroughly, then cut out individual leaves. For longer lasting color,
 leave a small margin around the leaves so the waxed paper remains sealed.
 - Leaves will remain attractive for months.

Decorating Ideas: Wax-pressed leaves are nice for kids to play with, to make collages and hanging creations. Pin the individual leaves to curtains or hot glue them to lampshades for seasonal color. Use gold or silver glitter marker to make nametags or table place cards.
Method #3 ~ Microwaving
 Microwave ovens provide a quick way to preserve almost everything, including fall leaves.
- Choose leaves that are still fresh and supple. Avoid dry fallen leaves.
- Sandwich individual leaves between 2 paper towels. DVD slipcases also work well.
- Place your leaves in the oven on a microwavable dish.
- Microwave for 30 seconds, and then check the leaves. Thicker, moister leaves will take longer to dry.
- If the leaves are not yet dry, keep running the microwave at 30-second intervals, checking until the leaves feel dry.
CAUTION: Just like anything else left in the microwave too long, the leaves can catch fire. So check them frequently. Don’t wait until the leaves are crisp and scorched. Remember that they will keep heating and drying for a few seconds outside the microwave and “overdone” leaves will lose some color.
Tip: Micro-dried leaves last longer if you seal them with a clear acrylic spray.
Method #4 ~ Preserving Fall Leaves with Glycerin
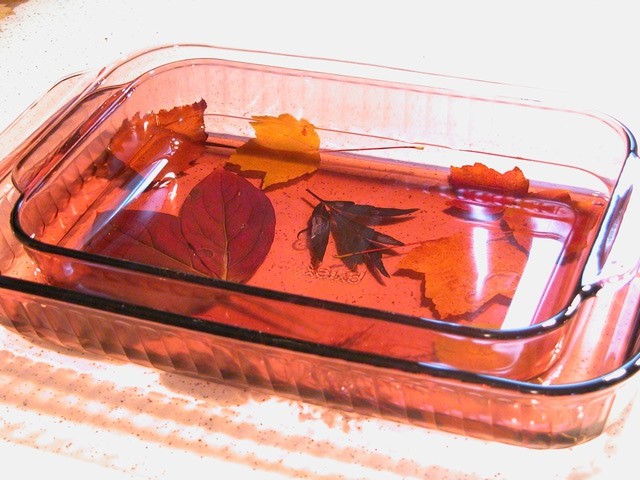 Preserving leaves with glycerin is the best way to keep them supple and flexible and remain in that condition for years to come. You can preserve individual leaves and small branches this way.
The hardest part with this method is obtaining the glycerin, as glycerin has really become difficult to find. I used to see it in large bottles at drug stores near the hand lotion. Some drug stores still carry it, but you may need to ask for help.
It can be found in some health food stores and craft stores. The last craft store where we found it the glycerin was in the cake decorating section. Seems glycerin also improves cake icing!
- In a shallow pan, mix a solution of 1 part glycerin to 2 parts water.
- Place your leaves in the solution.
- Weigh the leaves down with another pan or dish so that they are totally submerged. Placing a slightly smaller dish on top of the leaves keeps them well submerged. It also means you can use less solution.
- Start checking the leaves in 2-3 days, when they should be soft and pliable. If they still feel like dry leaves, allow them to rest in the solution for another 2-3 days.
- When leaves are re-hydrated and supple, remove them from the solution and blot them dry. Enjoy the rich colors!
Preserving Entire Branches with Glycerin 
- Cut small branches with leaves attached and immediately immerse the stems in a bucket of warm water. Let stand for about 2 hours, away from sunlight.
- Combine 1 part glycerin to 2 parts water in a saucepan and bring solution to a boil. Reduce heat and allow contents to simmer for 5 – 10 minutes.
- Allow solution to cool to room temperature.
- Remove the stems from the bucket of warm water and smash the stem ends lightly with a hammer so more surface area is exposed to soak up the glycerin solution.
- Place the branches into the cooled glycerin solution. Store out of direct sunlight and away from sources of heat until small beads of dew form on the leaves. This means the leaves have absorbed all they can.
- Remove the branches and wipe off the leaves.
- Hang branches upside down to dry.
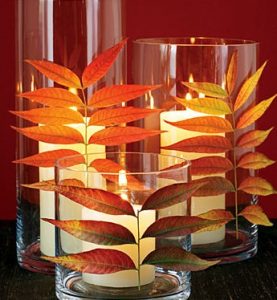
Decorating Ideas: Glycerin leaves can be used is so many ways. They are especially nice for wreaths and garlands and for table accents like napkin rings and chargers.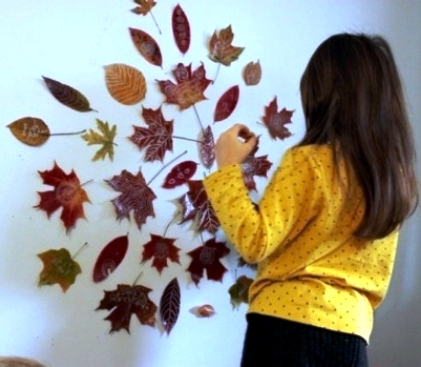
No preserved leaves last forever. Even the leaves pressed between waxed paper will eventually dry and crumble, but they last for months and months. Of course, there will always be more fall color next year and your skills and creativity will get better with each project.
Until next week, I’ll see you at Watters Garden Center.
Ken Lain can be found throughout the week at Watters Garden Center, 1815 W. Iron Springs Rd in Prescott, or contacted through his web site at WattersGardenCenter.com or FB.com/WattersGardenCenter .