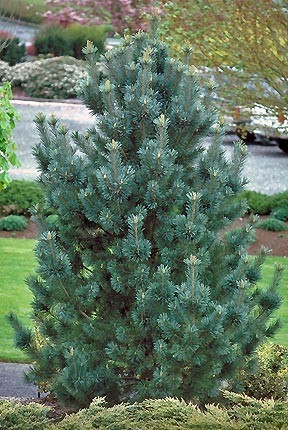
by Ken Lain, the mountain gardener
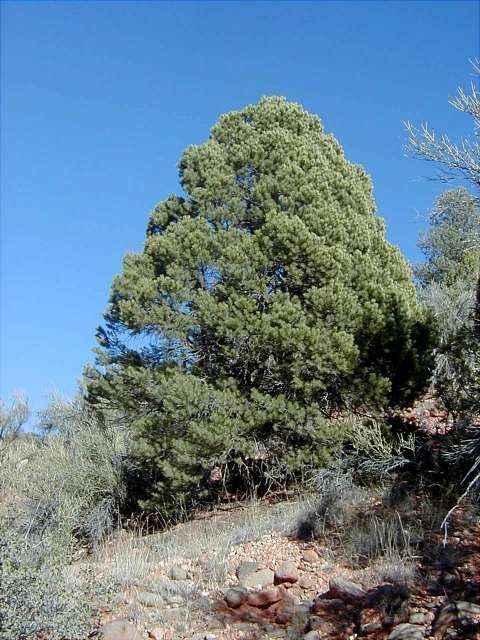
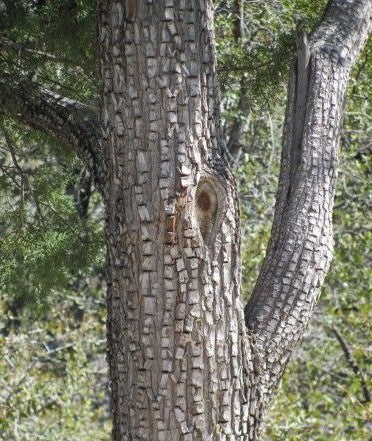
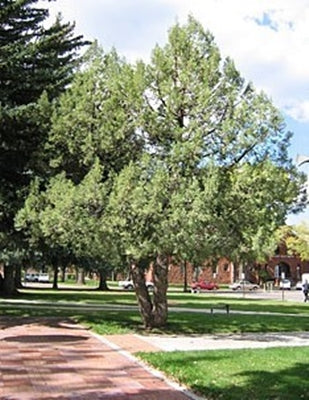
Botanical Names – Pinus edulis
Common Name – Two-Needle Pinyon Pine
Plant Type – Evergreen tree
Mature Size – 20 feet tall, 15 feet wide
Sun Exposure – At least 6+ hours per day
Soil Type – Adapts to dry, well-drained soils
Bloom Time – Spring
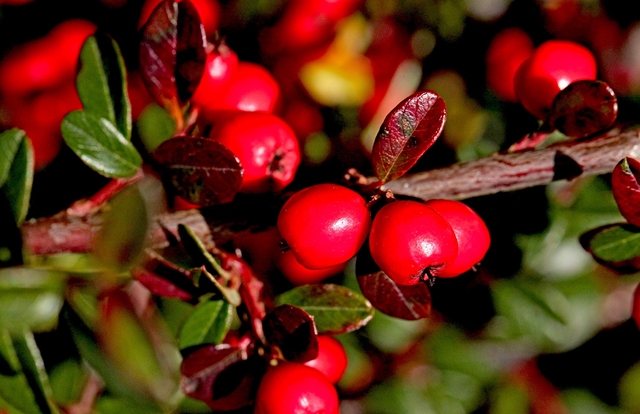
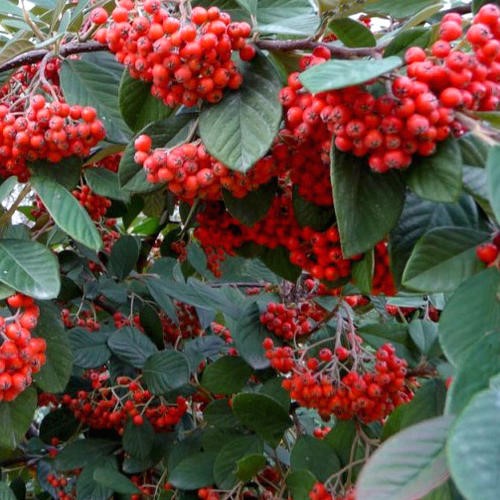
Flower Color – Red & Yellow
Hardiness Zones – 5 to 8, USDA
Native Area – North America
How to Grow Pinyon Pine
This tree has few restrictions on how to grow it; the only place it struggles is in dense shade. It is an ideal tree to plant in locations where you want filtered shade rather than the deep shade created by many other landscape trees. It’s a good lawn tree since it allows plenty of filtered light to reach down to the grass. Keep the tree well-watered, and make sure to protect the trunks against damage from lawnmowers and other lawn equipment, as the bark is tender and prone to injury. Applying a ring of Watters Premium Mulch, of shredded cedar bark around the base of the tree is ideal, as it keeps mowers away from the trunk.
Light
Full sun is preferred by these trees, although young trees will grow well in partial shade.
Soil
The Pinyon Pine is a super hardy tree and can grow well in different types of soil. Loam is ideal, but sand or clay will also be sufficient for this tree to thrive.
Water
Water twice monthly; less once well established, more in extreme heat. The water guide for this tree is deep soak as soon as planted and weekly for the first year. A one-hour trickle that slowly saturates the root provides proper water for a new tree. Adjust watering based on rainfall.
Temperature and Humidity
Honey locust can grow in a variety of climate conditions, but it will perish if exposed to temperatures below minus -33 degrees F.
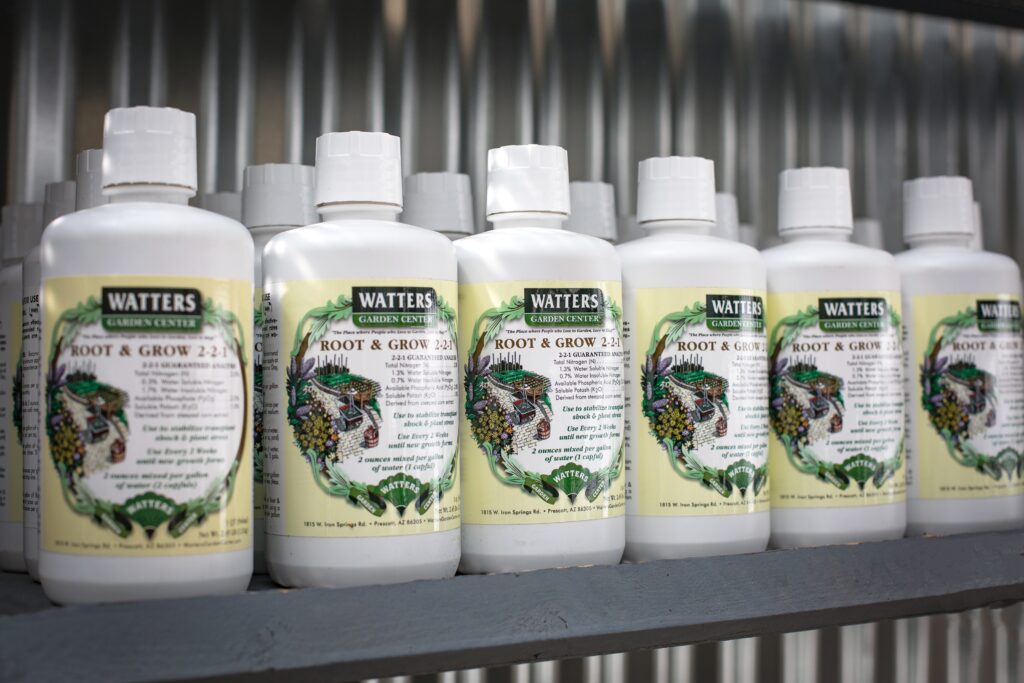
Older trees rarely need additional irrigation or fertilizing, especially if they are in an irrigated, fertilized lawn. For young trees feed three times per year with 7-4-4 All Purpose Food (March, July, and October).
Pruning
Pinyon Pine trees need little pruning except to remove dead or diseased branches. The best time to prune is in late winter (January through March), when sap flow is reduced by colder weather.
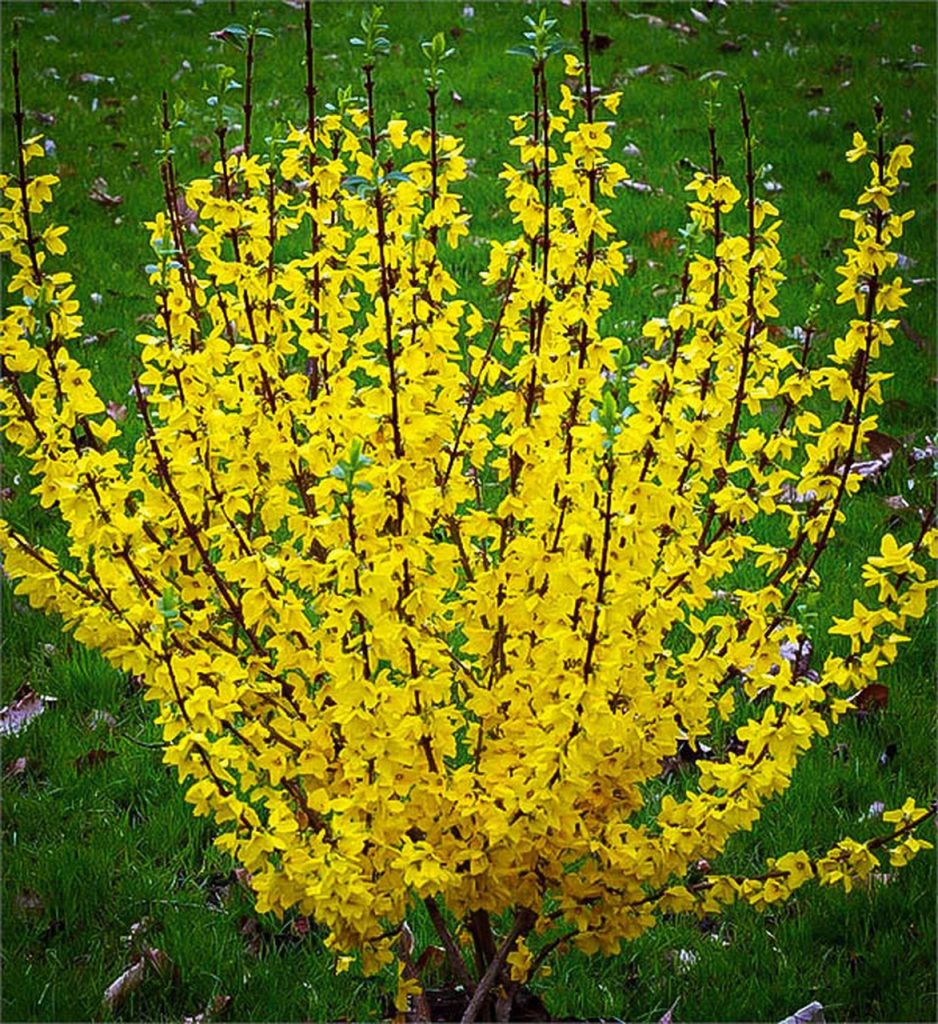
Better Together: Companion Plants for February
Lily of the Valley
This gorgeous shrub loves growing in the summer shade of a Pinyon Pine. This bold winter evergreen delights with dramatic firey growth in spring, producing clusters of fragrant flowers. Exquisite wedding cake layers of white flowers hover on graceful, arching stems most of winter and spring. The easy-care rounded form stands out with shiny foliage all winter, opening to white bell-shaped blooms in spring. This knee-high shrub is utterly detestable to all deer and Javelina.
Peony
Your grandmother would fall in love with these larger varieties with so many colors to choose from. There’s nothing like the enormous flowers to add vibrant stunning pops of color. Endearing springtime blooms are more than fragrant with luscious double flowers. Perfect for cut flowers in a spring bouquet. These hard mountain varieties take the brutal sun, wind for decades of perennial enjoyment. Deer are Javelina will ignore these peony beauties.
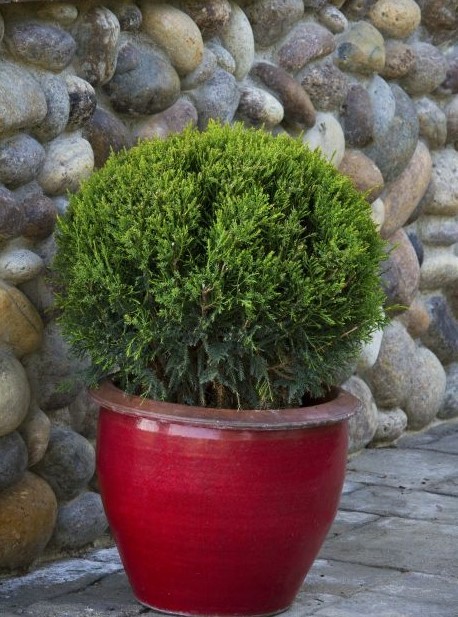
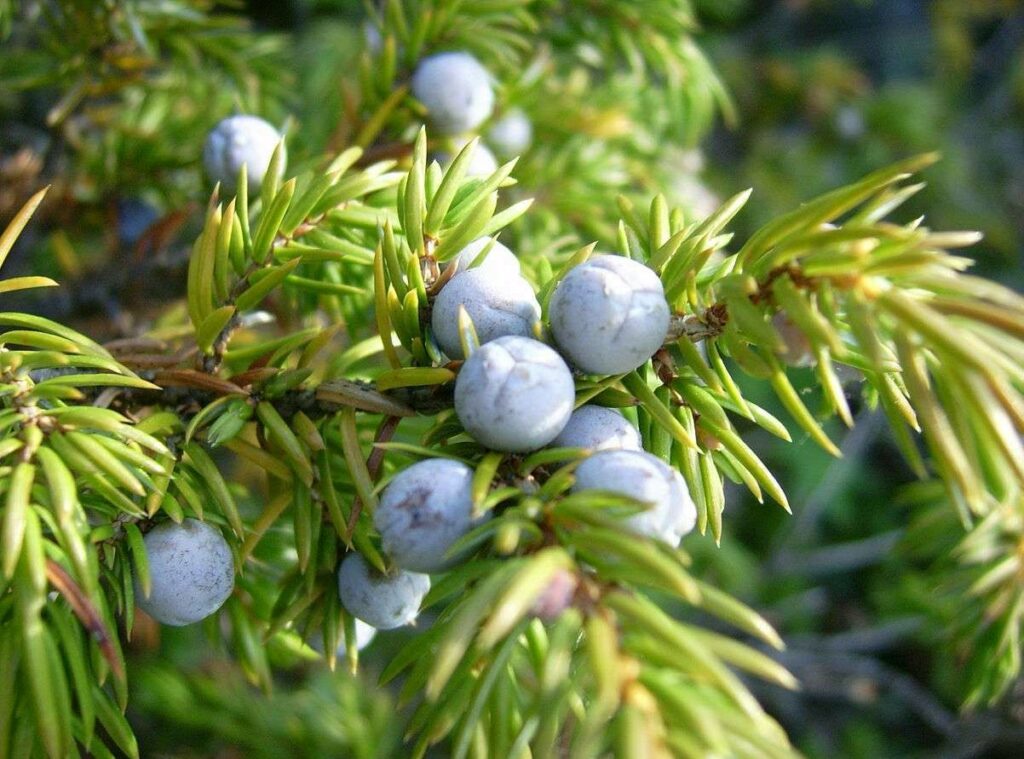
Calgary Carpet Juniper
Rich green mounds of juniper beauty only grow ankle-high for the perfect mountain ground cover. An ideal choice for low water, low care erosion control on natural banks where monsoon run-off is a problem. The perfect green nestled between boulders or soften the top edge of a masonry retaining wall. Ideally used to add color and style next to a barren rock lawn through the winter months. Junipers are always naturally welcome in Japanese gardens or pruned into creative bonsai forms.